Signs Your Roof Needs Repair (Not a Whole New Roof)
Bmore Exteriors participates in affiliate programs — if you buy through our links, we may earn a commission at no extra cost to you. Learn more.
Most roofs that get replaced could have been repaired. That's not an opinion — it's what shows up every week on ladders across the Baltimore area. A salesman with a commission on the line has every incentive to turn a $400 flashing repair into a $14,000 roof. So here's the honest walkthrough every homeowner should have before they call anyone: what to check from the ground, what to check in the attic, and for each sign, the straight verdict — repair or replace.
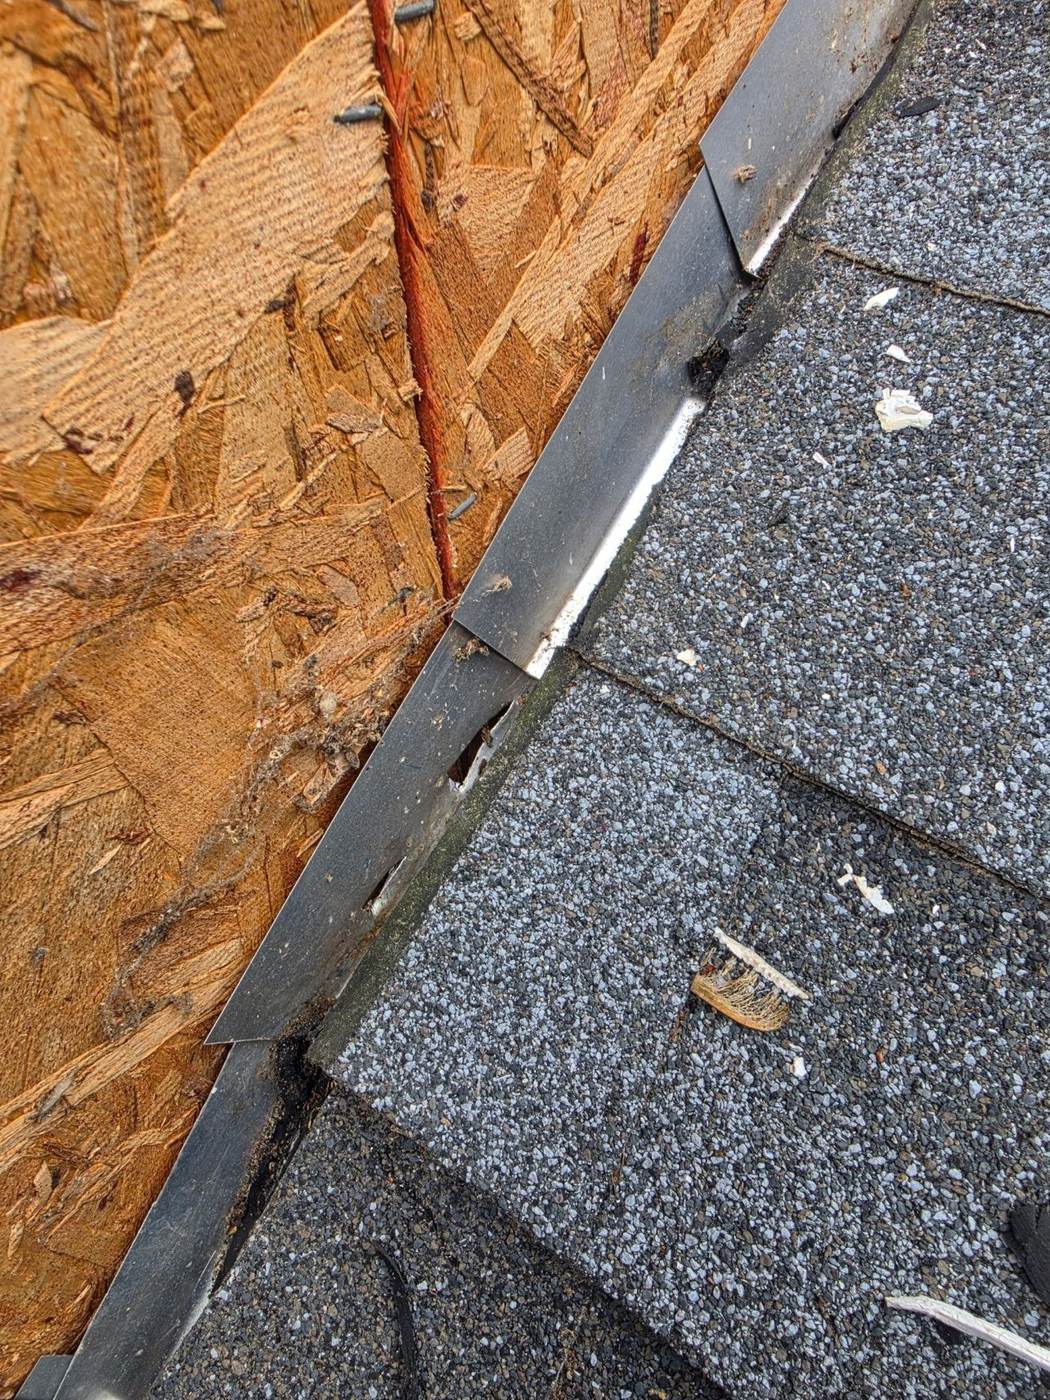
Start from the ground: missing, cracked, or curling shingles
You can learn most of what you need with binoculars and ten minutes. Walk the full perimeter and look for shingles that are missing entirely, cracked across the middle, or lifting at the corners. A handful of damaged shingles after a windstorm is normal maintenance, not a crisis. Asphalt shingles are rated for gusts well above what Maryland typically sees, but one poorly nailed shingle — or one whose seal strip dried out in a hot, humid summer — will let go first.
The verdict: repair. Individual shingles can be swapped out, resealed, or patched, typically for a few hundred dollars. The exception is when you're seeing dozens of damaged shingles across every slope — that's the roof telling you the shingle material itself is done, which usually happens around year 18–25 for standard architectural shingles in our climate.
One thing to check while you're out there: look for shingles that are curling at the edges (called cupping) or puffing up in the middle (clawing). A few curled shingles near a hot spot, like a south-facing dormer, is a repair. Widespread curling across the whole roof means the shingles are past their working life.
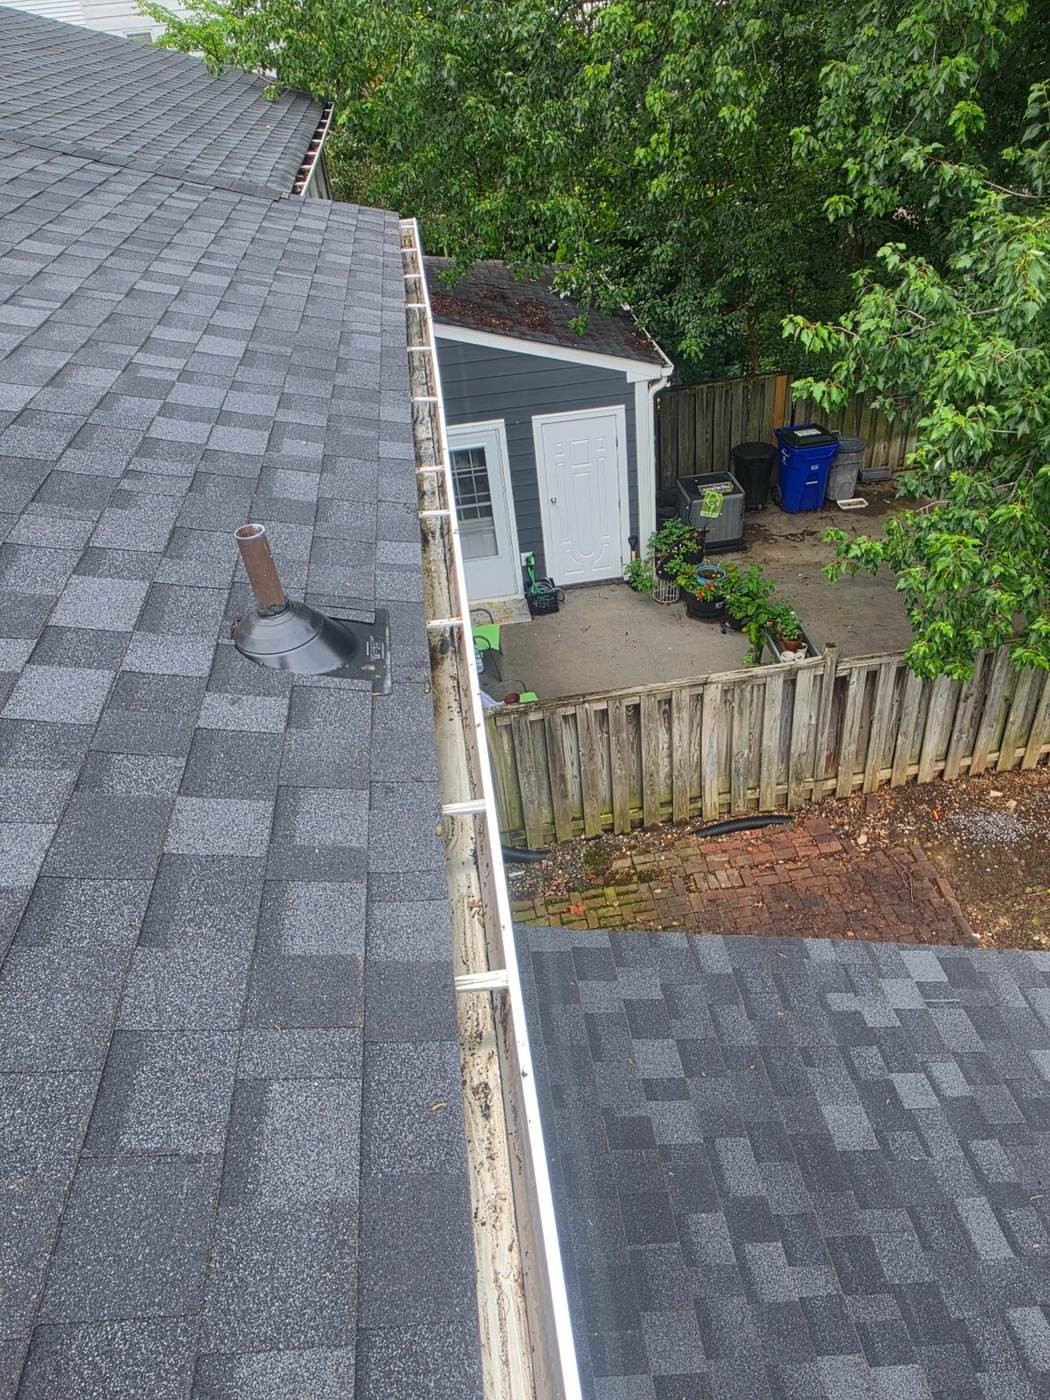
Flashing gaps around chimneys and walls
Now look at the metal where the roof meets anything that pokes through or stands up out of it: chimneys, skylights, dormer walls, the second-story wall above a lower roof. Good flashing is layered — step flashing, a piece per shingle course, tucked behind the siding or counter-flashing. What you're watching for is flashing that's pulled away, rusted through, or sealed only with a big smear of caulk. On Baltimore rowhouses, where the roof meets a tall party wall, the flashing takes a beating from freeze-thaw cycles and settlement, and it's the single most common leak source we find.
The verdict: repair. Flashing work is one of the best value-for-money repairs in roofing. Re-seating or replacing step flashing and counter-flashing on a chimney typically runs $300–$800 and stops leaks dead. A quick coat of
roofing sealant
Affiliate link placeholder — real link added later.can hold a small gap for a season, but sealant is a bandage, not a fix — metal work is the fix. The only time flashing becomes a replacement conversation is when the structure it's attached to is failing too — a crumbling chimney or rotted wall sheathing behind the flashing.
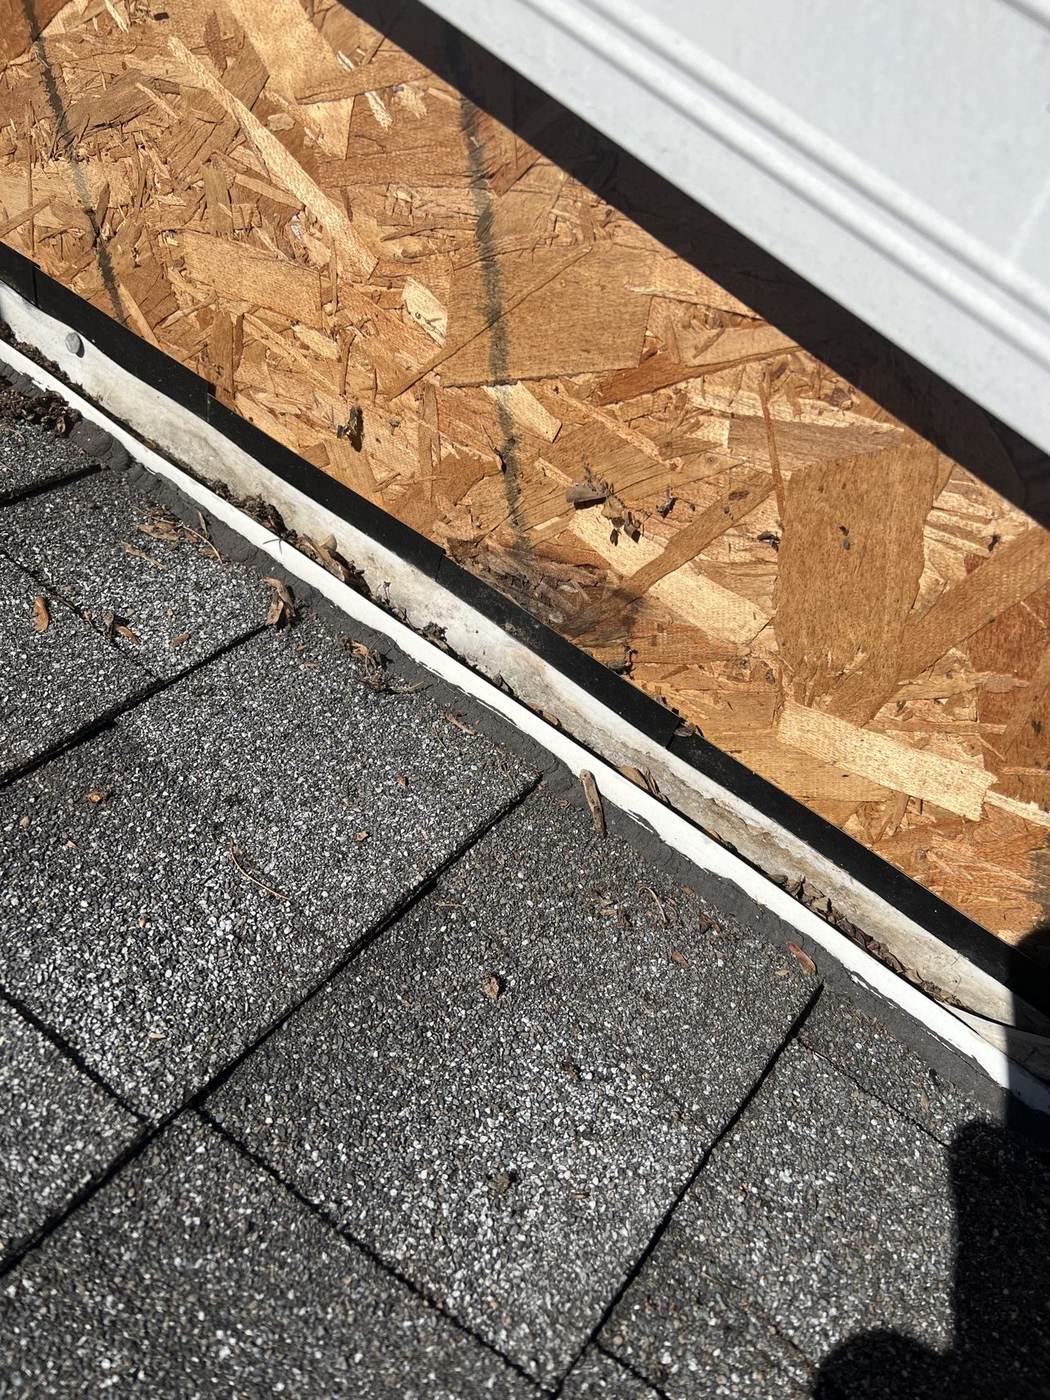
Cracked vent boots: the cause of most "mystery" leaks
This one you can't always see from the ground, but it's the cause of more ceiling stains than any other single thing. The rubber boot that seals around each plumbing vent pipe bakes in the sun, hardens, and cracks — usually in 7–12 years. Water then runs down the pipe and drips out wherever the pipe passes the ceiling. The maddening part: the stain in your dining room can be ten feet from the actual leak, because water travels along the pipe or down the sheathing before it finds a way through.
The verdict: repair, and it's a small one. A new vent boot is a $200–$500 repair — parts are cheap, the labor is straightforward. If you're comfortable on a roof, a replacement vent boot kit from the hardware store (
vent boot replacement kit
Affiliate link placeholder — real link added later.) is a genuine DIY job: remove the old shingles around the pipe, slide the new boot over, re-shingle, done. If the boot is the only problem, this repair will outlast the roof around it.
Ceiling stains: go look in the attic first
A brown ring on the ceiling is where most homeowners start. Before you assume the worst, go up to the attic during or right after rain with a flashlight. Look for active dripping, damp or darkened wood, and daylight coming through where it shouldn't. Feel the insulation — if it's packed and wet, water has been coming in for a while. Note where the stain is relative to the ridge: stains within a few feet of a valley, chimney, or vent pipe almost always trace back to a localized failure, not a worn-out roof.
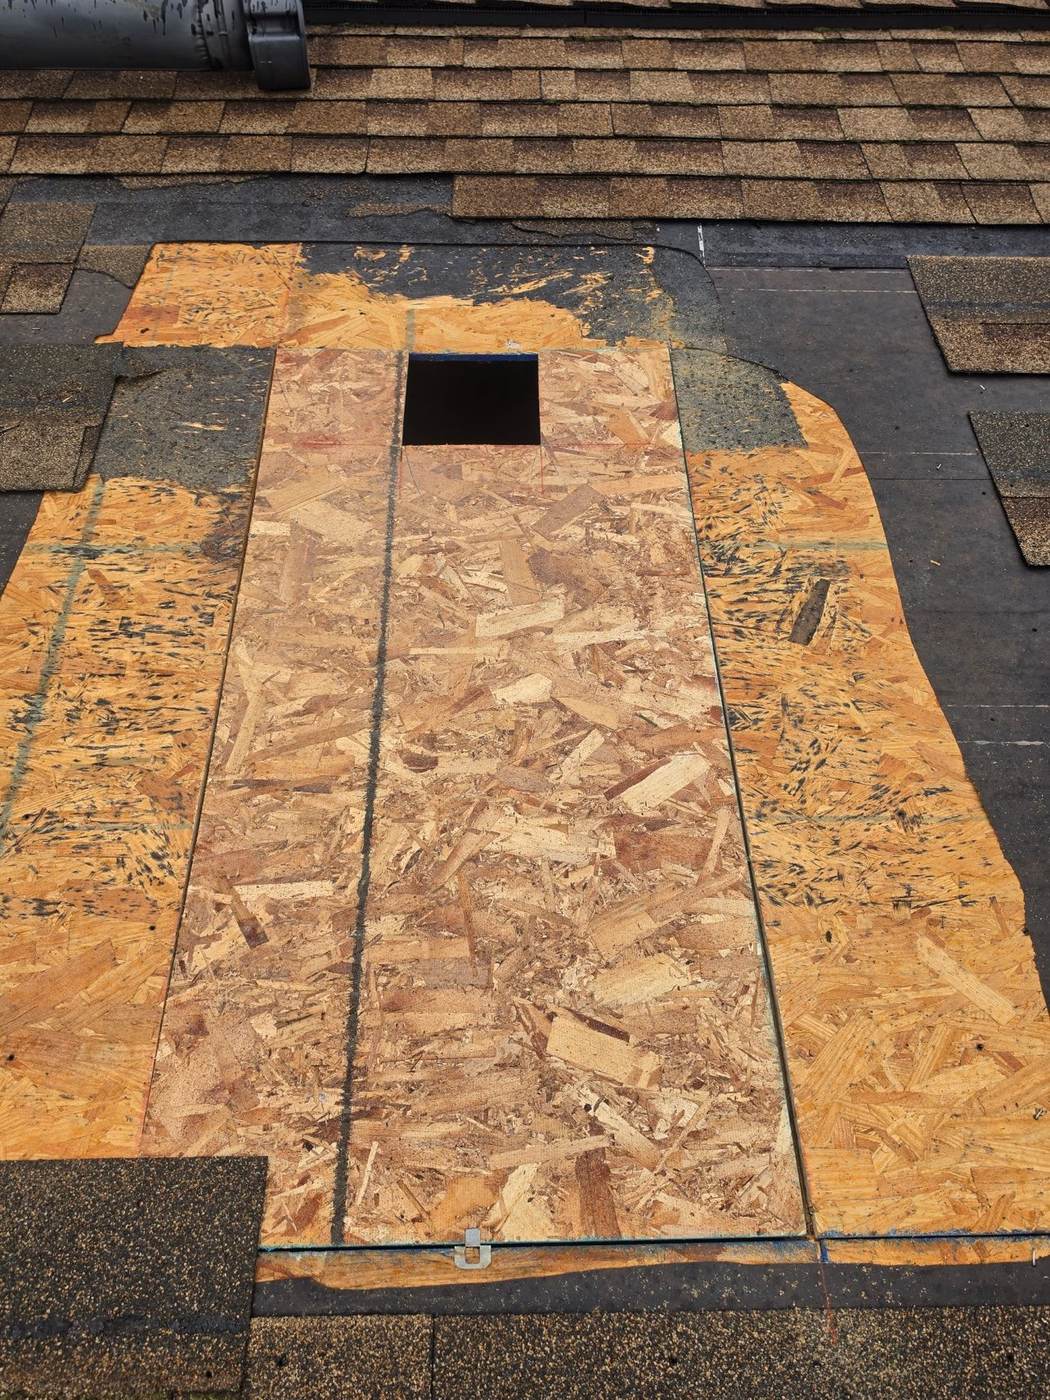
The verdict: usually repair. Stains are scary-looking but they're usually evidence of one bad spot. What changes the verdict is what you find up there: soft, spongy sheathing that you can push a screwdriver through, mold spreading across whole sections of decking, or daylight visible through broad areas of the roof. Healthy sheathing with one wet spot = repair. Rot across a whole slope = replacement territory.
For keeping an eye on things between visits, a cheap
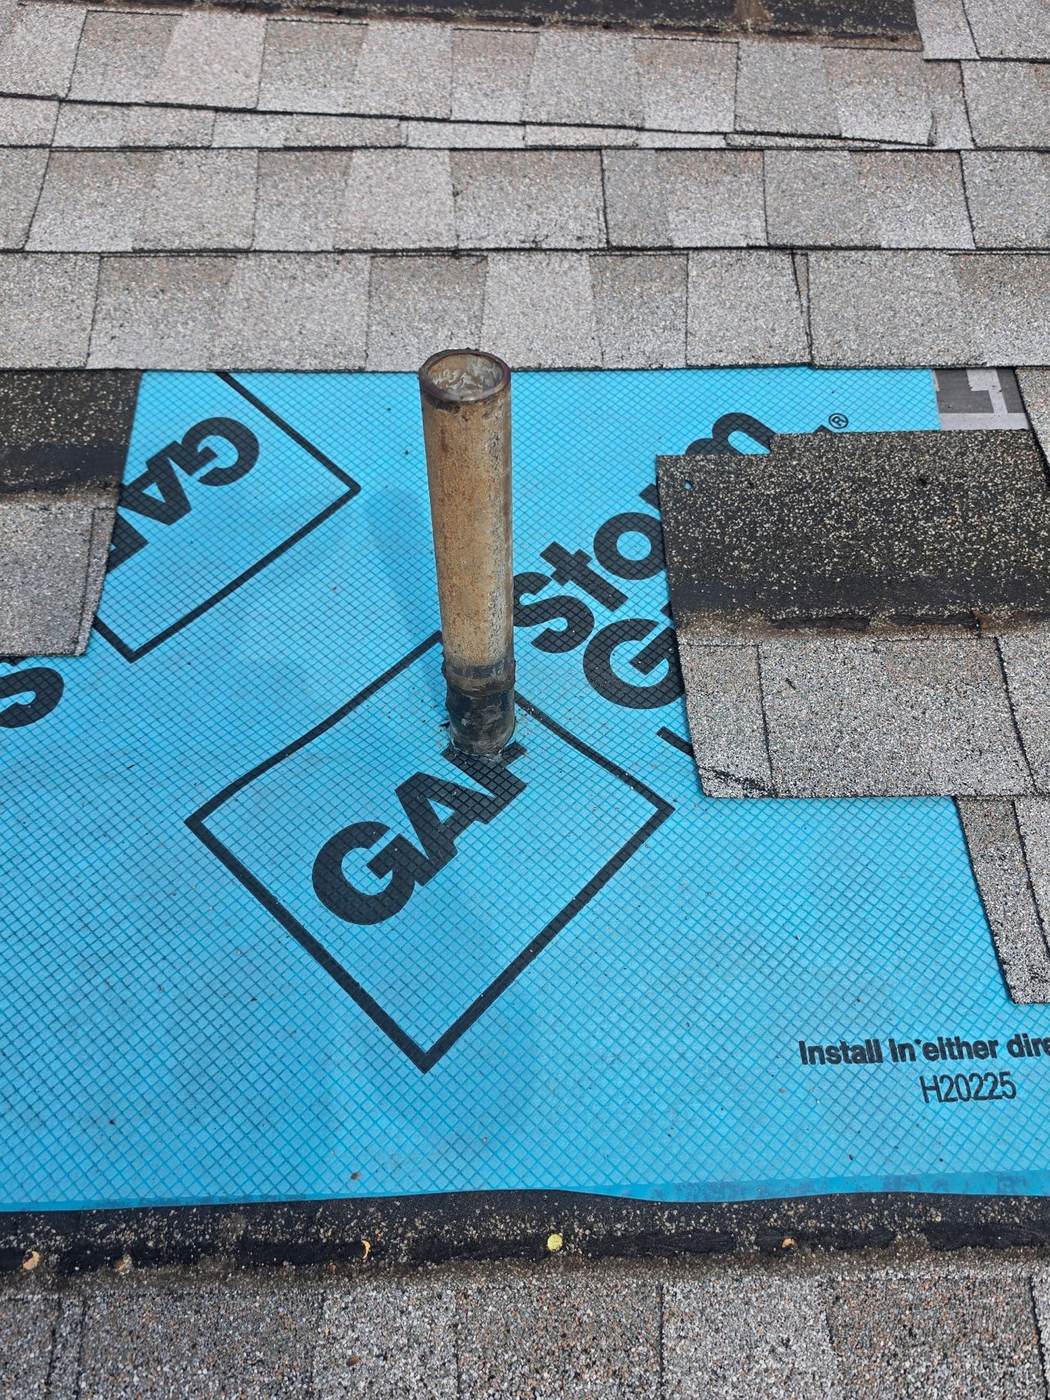
pin-type moisture meter
Affiliate link placeholder — real link added later.lets you check attic wood and ceiling drywall after storms — anything reading consistently above 16–18% moisture deserves a look.
Granule loss in the gutters
When you clean your gutters, look at what's in them. Some granules are normal — new shingles shed extra for a season. But gutters full of grit from an older roof, plus shingles that look bald or patchy when you look at the roof, mean the protective layer is wearing off. Granules are the shingle's sunscreen and armor; without them, the asphalt underneath bakes and cracks faster.
The verdict: watch-and-wait, or replace. Heavy granule loss on a roof that's 20+ years old is usually the writing on the wall — repairs still work for leaks, but you're buying time in years, not decades. Heavy granule loss on a roof under 12 is unusual and worth a second opinion — it can be a manufacturing defect, storm damage, or a ventilation problem cooking the shingles from below.
Nail pops and exposed fasteners
Look along the roof for small bumps in the shingles or, worse, shiny nail heads sitting exposed on the surface. Nails back out over time — freeze-thaw cycles in a Maryland winter work them loose, and the shingle above flexes a little more with each season. An exposed nail head is a hole straight through the shingle. It usually shows up as a stain after the first big storm.
The verdict: repair. This is the cheapest fix on the list. The correct repair is pulling the popped nail and re-fastening the shingle with screws set just above or below the old spot (screws hold where nails have failed), then sealing. Any competent roofer handles this in under an hour.
When replacement is genuinely the right call
When this guide says "replace it," it's because the math says so. Here's the honest checklist:
- Age plus condition: architectural shingles past 22–25 years with multiple failing slopes.
- Sheathing damage: soft, delaminating OSB or plywood across whole sections — you can't repair shingles onto rotted wood and expect it to hold.
- Layer math: if the roof already has two layers of shingles, most jurisdictions won't allow a third. Tear-off time.
- Repair stacking: if you're looking at $4,000–$5,000 in repairs on a 20-year-old roof, the replacement starts making financial sense — you'll spend the money either way, and the new roof comes with a warranty.
What we won't do is tell you a 12-year-old roof with a bad vent boot needs $14,000. If someone tells you that, get a second estimate.
The short version
Walk the perimeter, check the flashing and vent boots, look in the attic after rain, and read what the roof is telling you instead of what a salesman is selling. Most of what you'll find is fixable for hundreds, not thousands — if you catch it early.
Most of these checks take about twenty minutes from the ground and the attic. Do them before you call anyone, and you'll already know whether you're looking at a repair or a bigger conversation.